WSO2 Identity Server is an API-driven open source Identity and Access Management (IAM) product designed to help you build effective Customer Identity and Access Management (CIAM) solutions. It is based on open standards such as SAML, OAuth and OpenID Connect (OIDC) with the deployment options of on-premise, cloud, and hybrid. It supports complex IAM requirements given its high extensibility. Capabilities: SSO, Identity Federation, Multi-factor Authentication or Adaptive Authentication, and many more.
Asgardio's OIDC SDK for JavaScript [1] allows Single Page Applications (SPA) to use OIDC/OAuth2 authentication in a simple and secure way. By using Asgardio and the JavaScript OIDC SDK, developers will be able to add identity management quickly to their Single Page Applications.
For this tutorial we will be using the sample application in the above mentioned Github repo. Let's get started.
Step 1: Setup and Run WSO2 Identity Server (WSO2 IS)
1. Download WSO2 IS from here. I have selected the "Zip Archive" option for my exercise.
2. Extract the zip archive to your working directory and we call the wso2is-5.10.0 as IS_HOME from now on.
3. Add CORS filter to oauth2 and api#identity#user#v1.0 web.xml files.
i. IS_HOME/repository/deployment/server/webapps/oauth2/WEB-INF/web.xml
    <filter>
        <filter-name>CORS</filter-name>
        <filter-class>com.thetransactioncompany.cors.CORSFilter</filter-class>
        <init-param>
                <param-name>cors.allowOrigin</param-name>
                <param-value>http://localhost:3000</param-value>
        </init-param>
    </filter>
    <filter-mapping>
       <filter-name>CORS</filter-name>
        <url-pattern>*</url-pattern>
</filter-mapping>ii. IS_HOME/repository/deployment/server/webapps/api\#identity\#user\#v1.0/WEB-INF/web.xml
    <filter>
        <filter-name>CORS</filter-name>
        <filter-class>com.thetransactioncompany.cors.CORSFilter</filter-class>
        <init-param>
                <param-name>cors.allowOrigin</param-name>
                <param-value>http://localhost:3000</param-value>
        </init-param>
    </filter>
    <filter-mapping>
        <filter-name>CORS</filter-name>
        <url-pattern>*</url-pattern>
    </filter-mapping>
5. Start WSO2 IS and login to management console using default credentials admin:admin
sh IS_HOME/bin/wso2server.sh start; tail -f IS_HOME/repository/logs/wso2carbon.log;Management Console: https://localhost:9443/carbon6. Go to Main -> Identity -> Service Providers and click Add to add a new service provider.
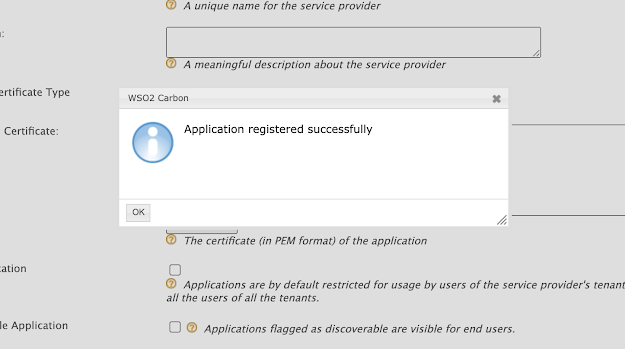
7. Add service provider name as Sample and click on the button Register
8. Expand the Inbound Authentication Configuration section. Then expand OAuth/OpenID Connect Configuration section and click on Configure.
9. Configure as follows.
i. Under Allowed Grant Types uncheck everything except Code and Refresh Token.
ii. Enter http://localhost:3000 as the Callback Url.
iii. Check Allow authentication without the client secret.
iv. Finally click Add button at the bottom.
11. Copy the OAuth Client Key. This will be added to your JavaScript application configuration later.
Step 2: Setup and Run the sample javascript OIDC application
1. Clone Github repo in [1] to your local machine.git clone https://github.com/asgardio/asgardio-js-oidc-sdk.git
2. Go to directory: asgardio-js-oidc-sdk and issue the following command.
npm run build
3. Open the index.html file and find the JavaScript section where the app logic is written.
4. Run the app by entering the following command
5. Click on the Sign In button to login using WSO2 IS. You will be redirected to the SSO page.
6. You will be asked to provide consent for this application to access your data.
Once you press Continue, you will be redirected to the application as follows.


No comments:
Post a Comment