How about building your own python-cartridge?
It’s easy, lets follow the steps below.
- Copy the github files to a shared location where your host machine and the VM can access. [e.g.: mine: users/suhanr/Documents in VirtualBox Settings -> Shared Folders]
This will be easy when you want to edit configuration files and modify file contents.
Important files and folders.
- Dockerfile - Facilitate automated docker image building process.
- packs folder contains our stratos cartridge agent, ActiveMQ libraries required and java 1.7 package.
- init.sh
- run_scripts.sh
- Open a terminal session in the VM and find the shared folder as follows. Go inside that folder.
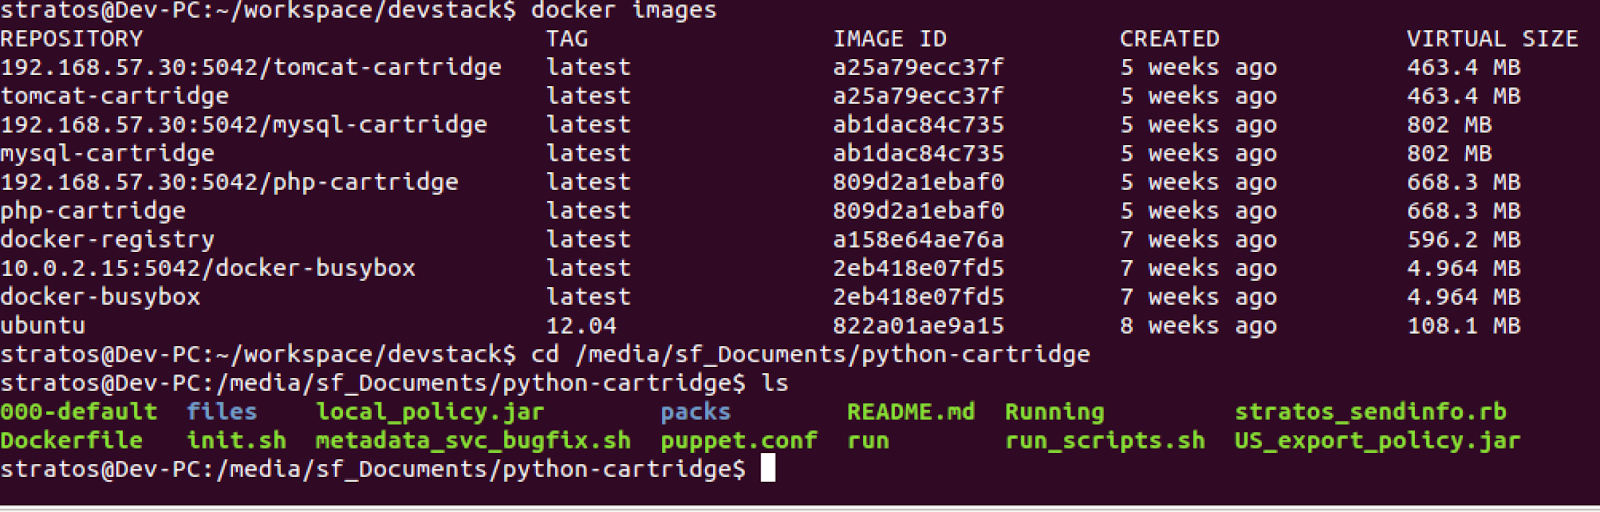
Say for example your shared folder name is like “VMShared”, then it will appear inside /media/ folder as sf_VMShared.
- Simply issue the docker build command to start Docker image automated building process.
docker build -t python-cartridge .
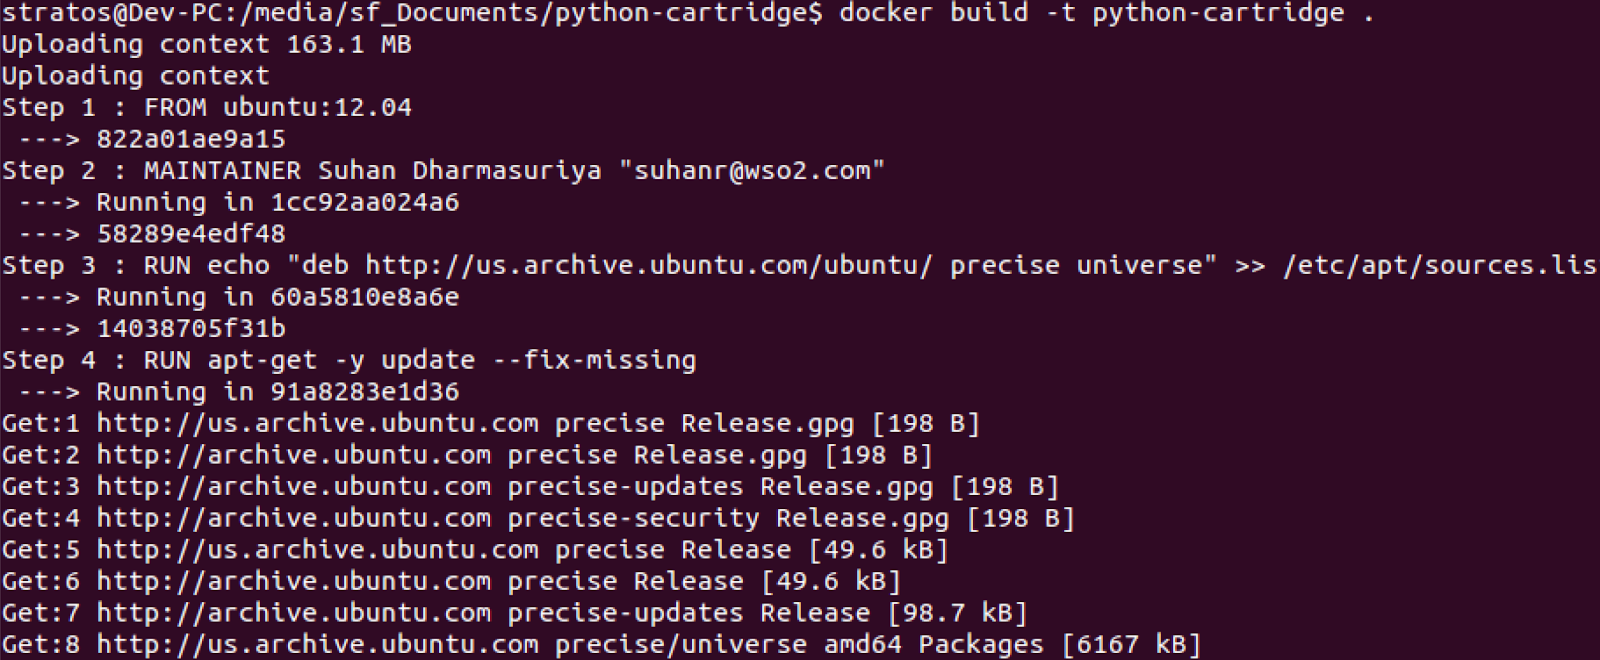
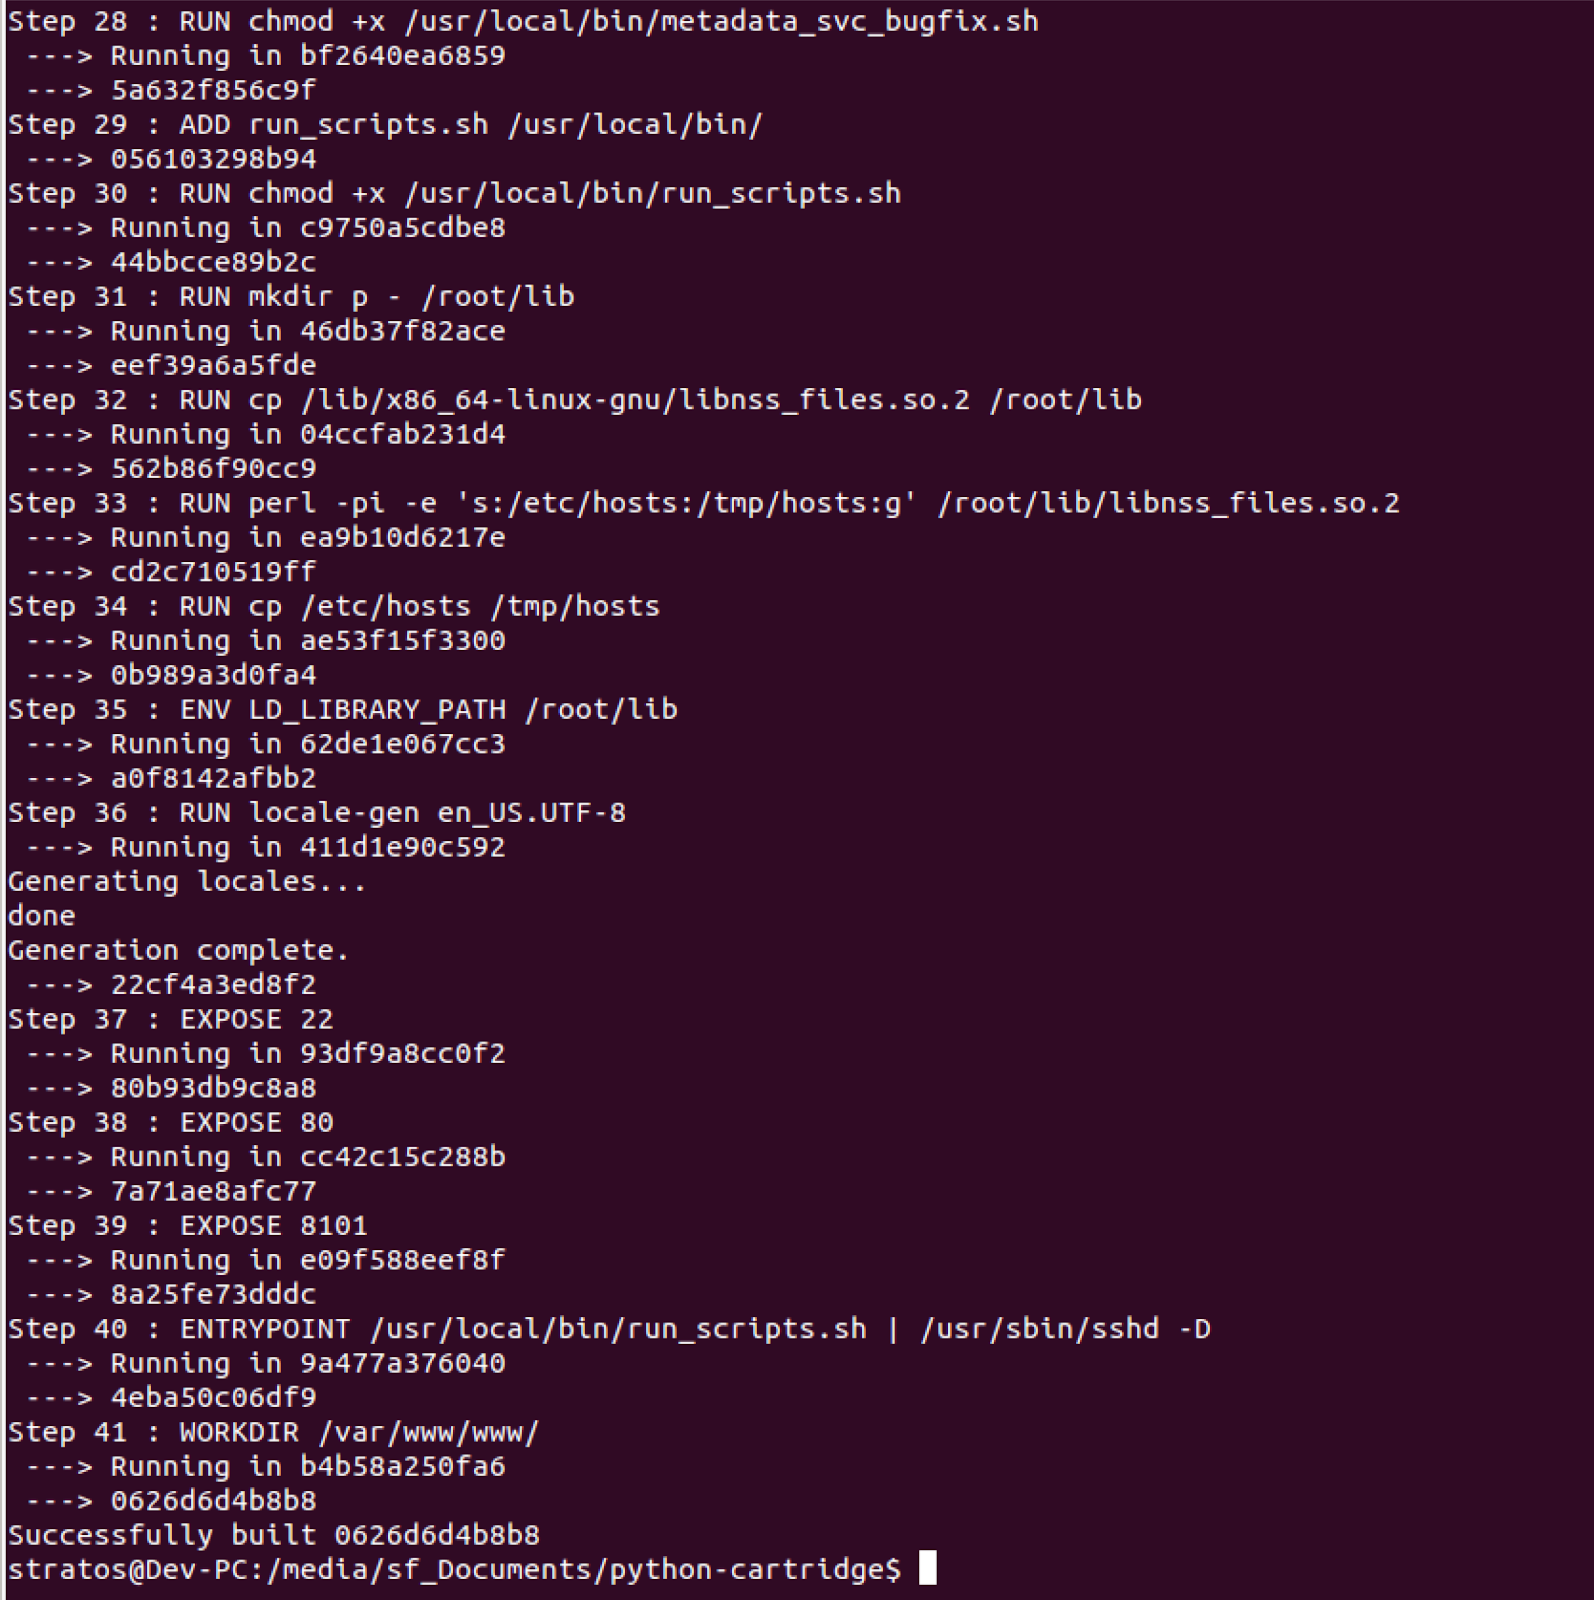
When the build is successful the output will be similar as shown in the below image.
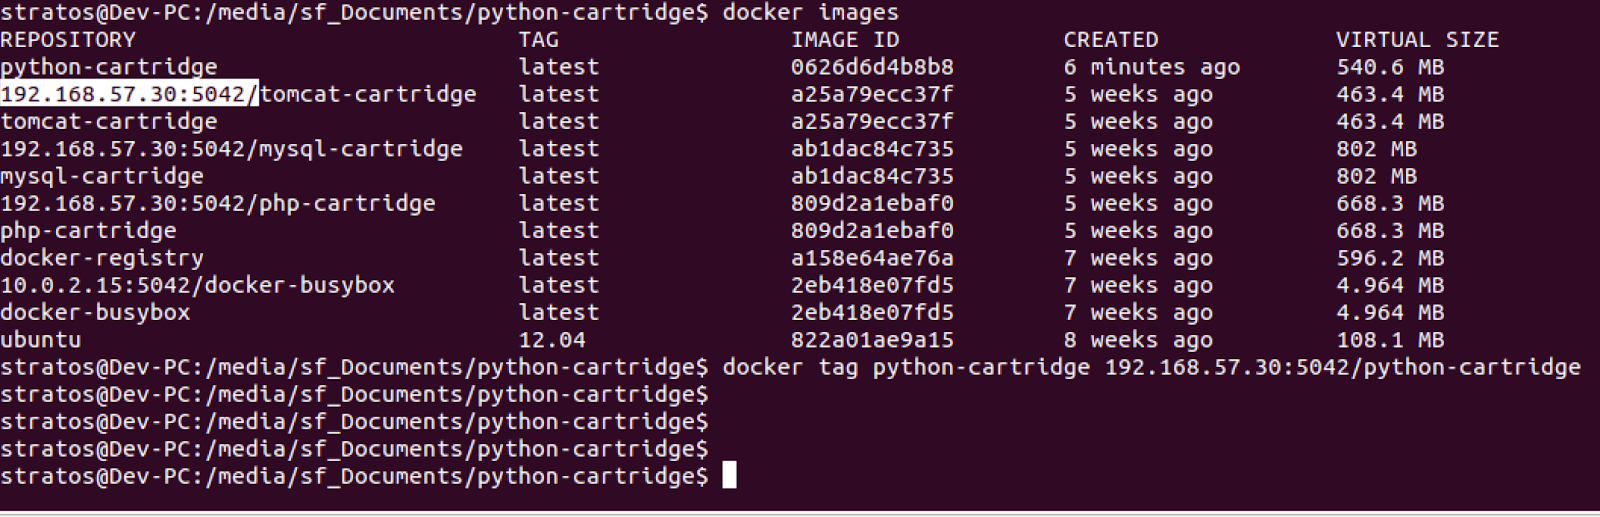
- Now tag your root repository as follows
docker tag python-cartridge 192.168.57.30:5042/python-cartridge
If you try to push the root repository to docker you will get the below error.
Impossible to push a "root" repository. Please rename your repository in <user>/<repo> (ex: <user>/python-cartridge)
- It is time to push your newly built docker image with the newly created tag to the glance repository
docker push 192.168.57.30:5042/python-cartridge
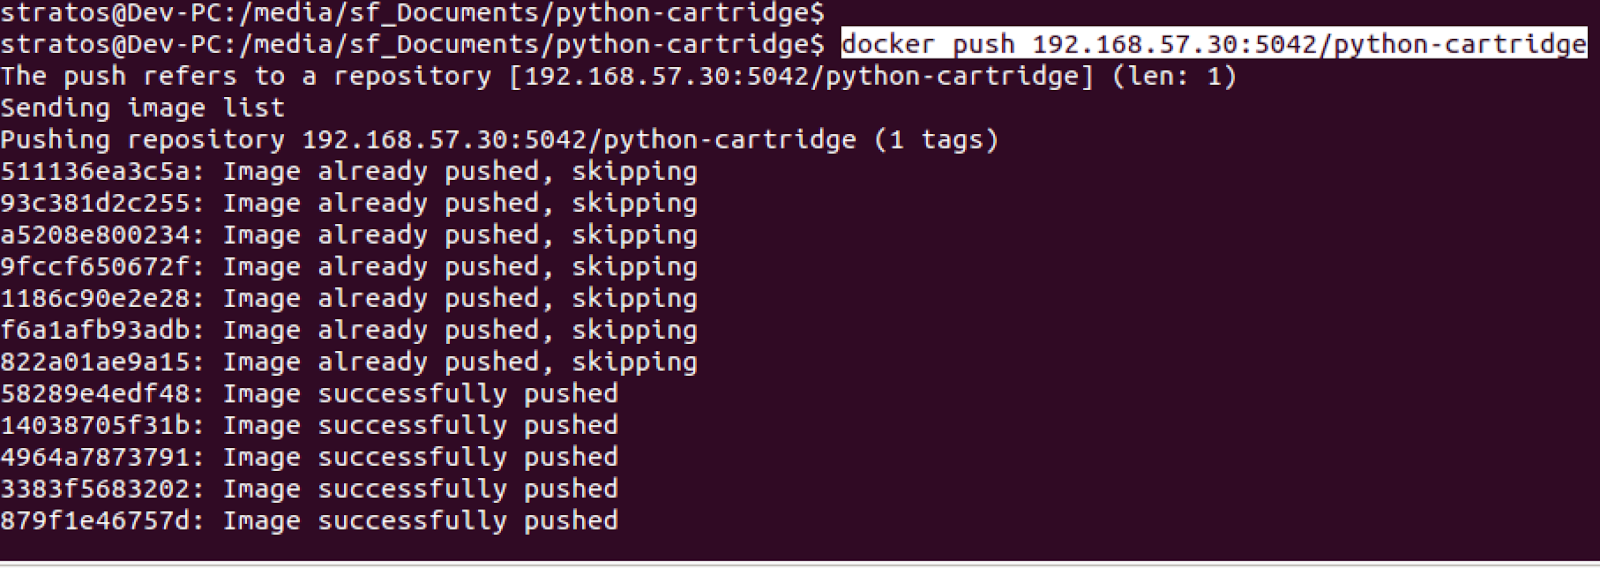
When the image is successfully pushed you will get an output similar to this.

- Now go to glance repository and get the image id of your newly pushed docker image. [This will be needed when you configure your newly built cartridge in Apache Stratos]
> cd /home/stratos/workspace/devstack/
> . openrc admin admin
> glance image-list

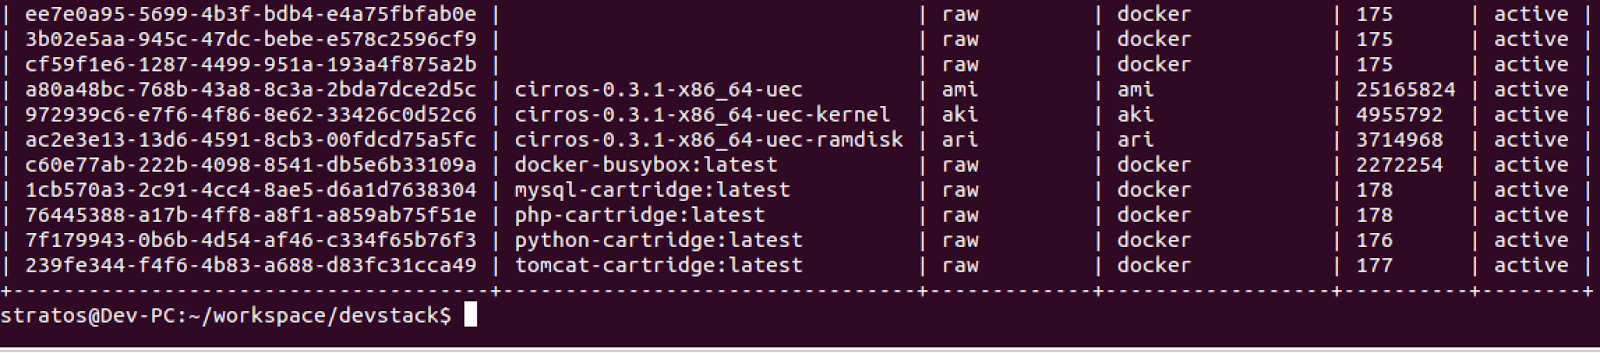
sample image ID: 7f179943-0b6b-4d54-af46-c334f65b76f3
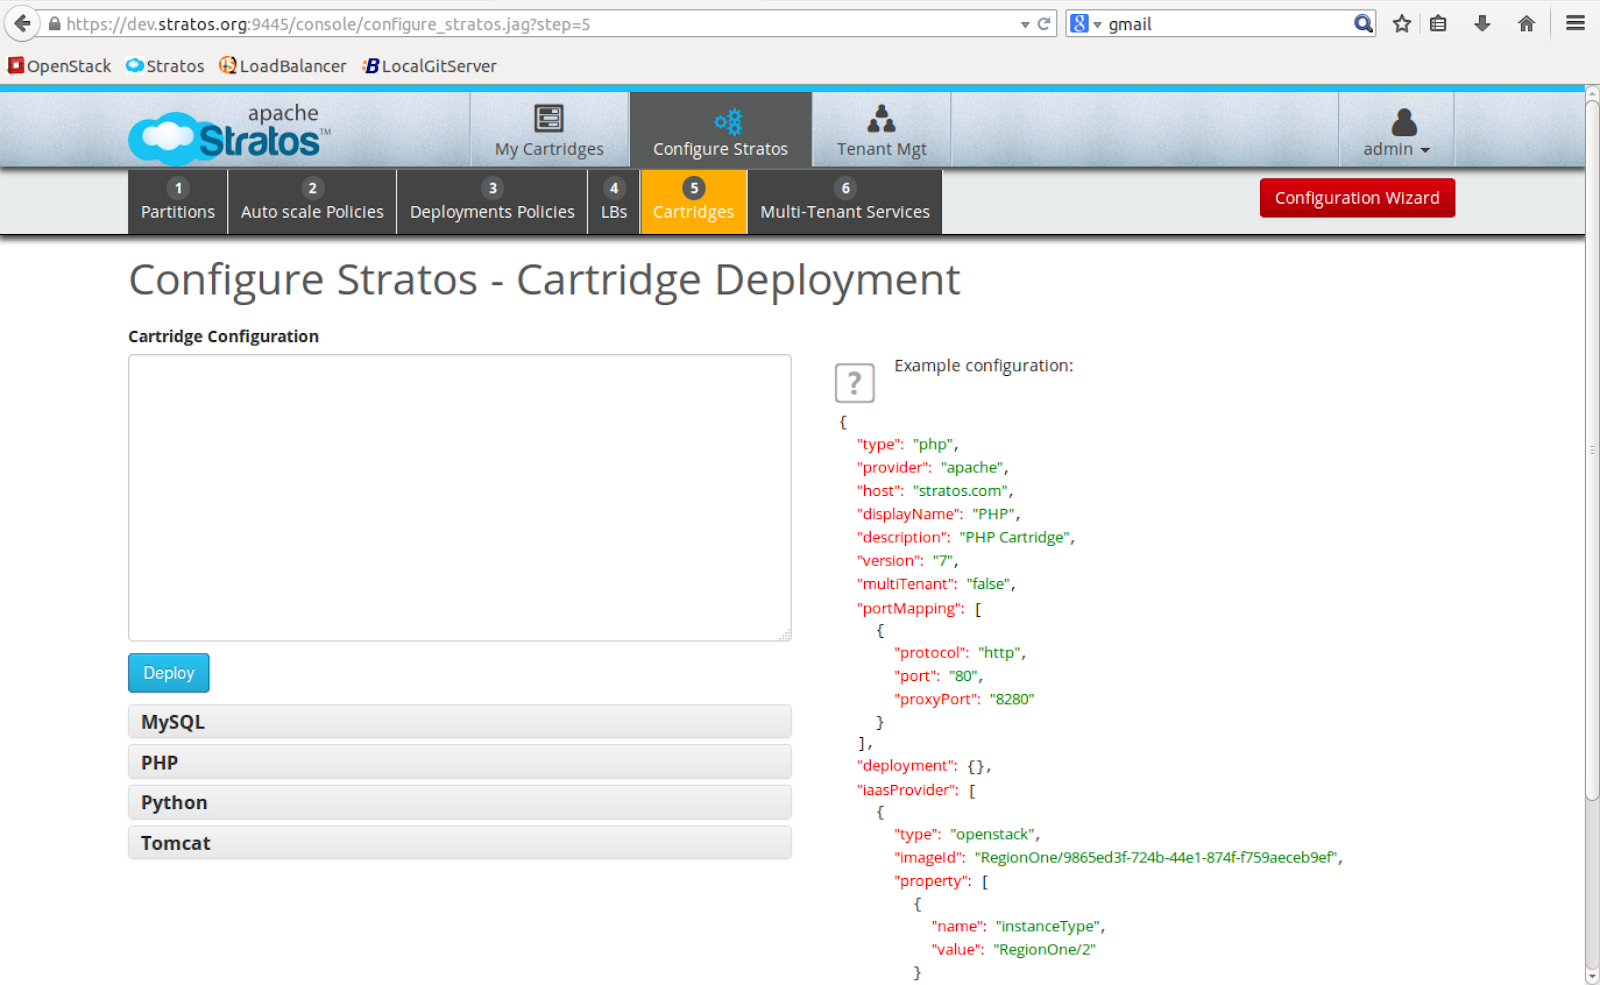
- Now it is time to configure your newly built cartridge in Apache Stratos
You can find the python configuration files here - Download
Open your web browser in VM and go to the following link.
https://dev.stratos.org:9445/console/
Since partition and auto scale policies are already defined configure Deployment policy and cartridge configuration.
Sample Deployment policy:
{
"id": "python-openstack",
"partitionGroup": {
"id": "openstack",
"partitionAlgo": "one-after-another",
"partition": [
{
"id": "P1",
"partitionMax": "2",
"partitionMin": "1"
}
]
}
}
Sample Cartridge configuration:
{
"type": "python",
"provider": "python",
"host": "dev.stratos.org",
"defaultAutoscalingPolicy": "economyPolicy",
"defaultDeploymentPolicy": "python-openstack",
"displayName": "Python",
"description": "Python Cartridge",
"version": "2.7",
"multiTenant": "false",
"portMapping": [
{
"protocol": "http",
"port": "80"
}
],
"deployment": {},
"iaasProvider": [
{
"type": "openstack",
"imageId": "RegionOne/7f179943-0b6b-4d54-af46-c334f65b76f3",
"maxInstanceLimit": "1",
"property": [
{
"name": "instanceType",
"value": "RegionOne/2"
},
{
"name": "keyPair",
"value": "demo"
},
{
"name": "securityGroups",
"value": "open-all"
}
]
}
],
"property":[
{
"name":"payload_parameter.MB_IP",
"value":"192.168.57.30"
},
{
"name":"payload_parameter.MB_PORT",
"value":"61616"
},
{
"name":"payload_parameter.CEP_IP",
"value":"172.17.42.1"
},
{
"name":"payload_parameter.CEP_PORT",
"value":"7613"
}
]
}
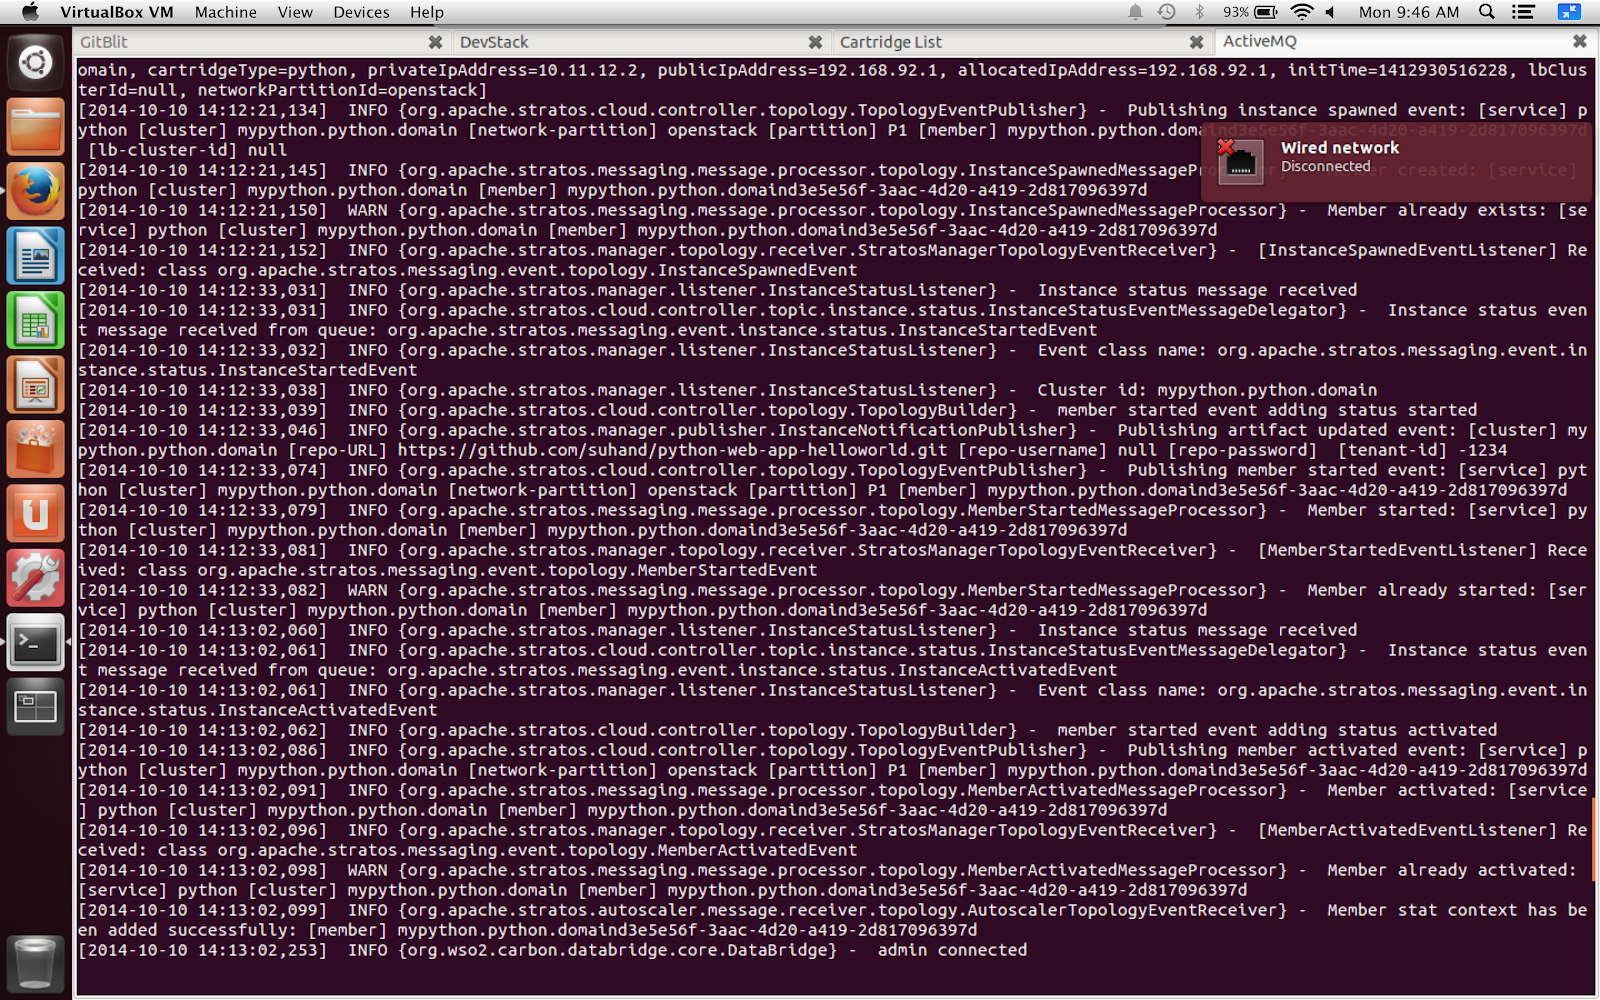
Stratos terminal output will be as follows.

- Now subscribe to your newly built cartridge
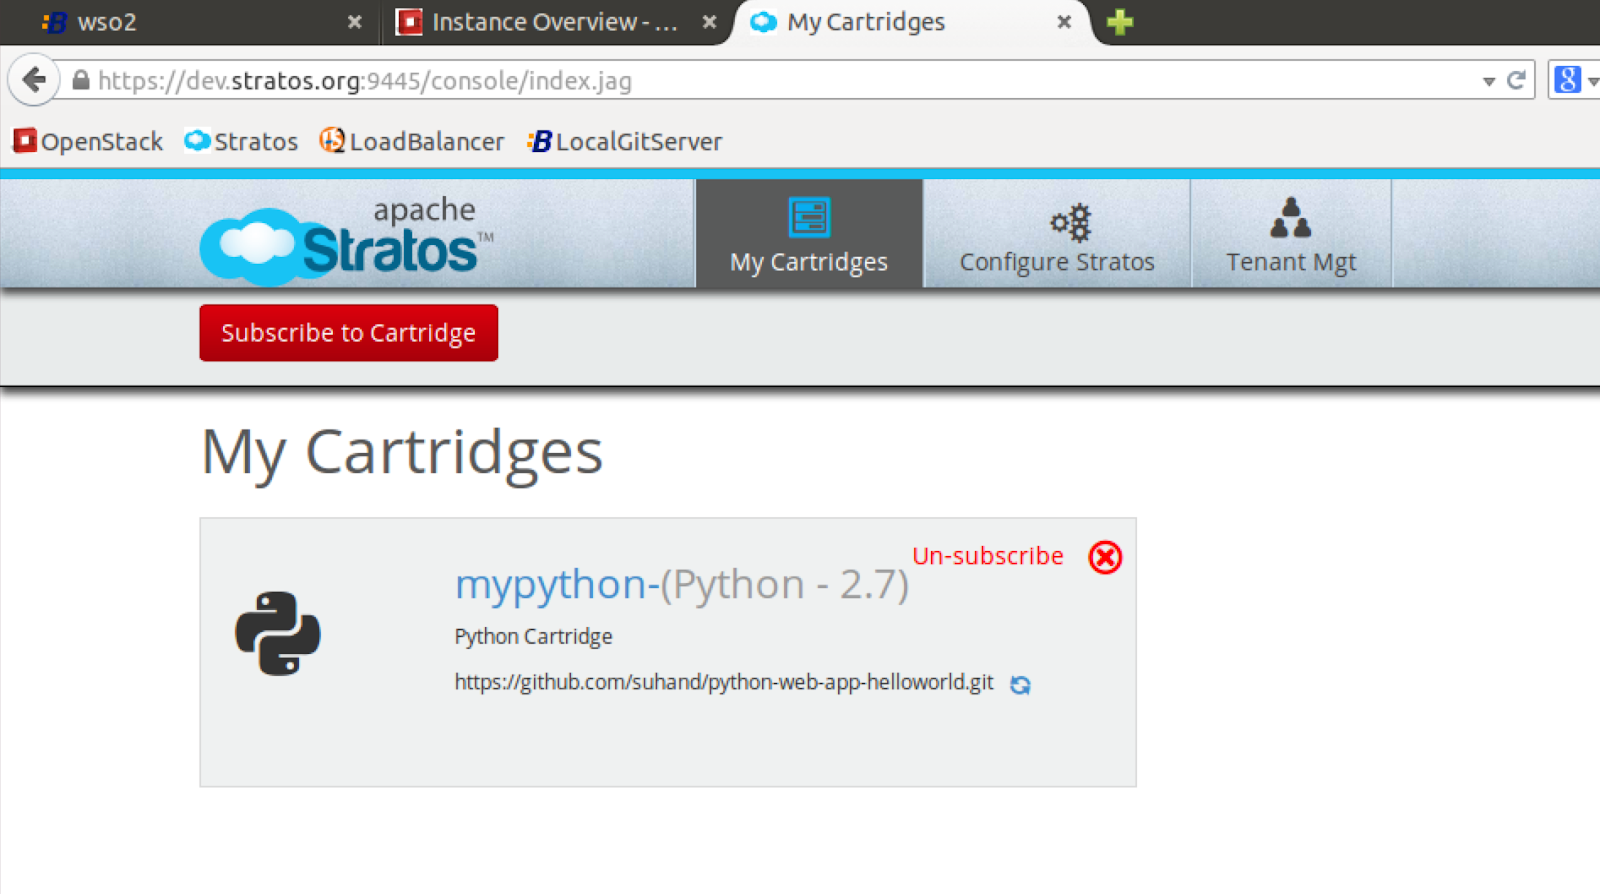
Once you subscribe to the cartridge it will take some time to activate the instance.

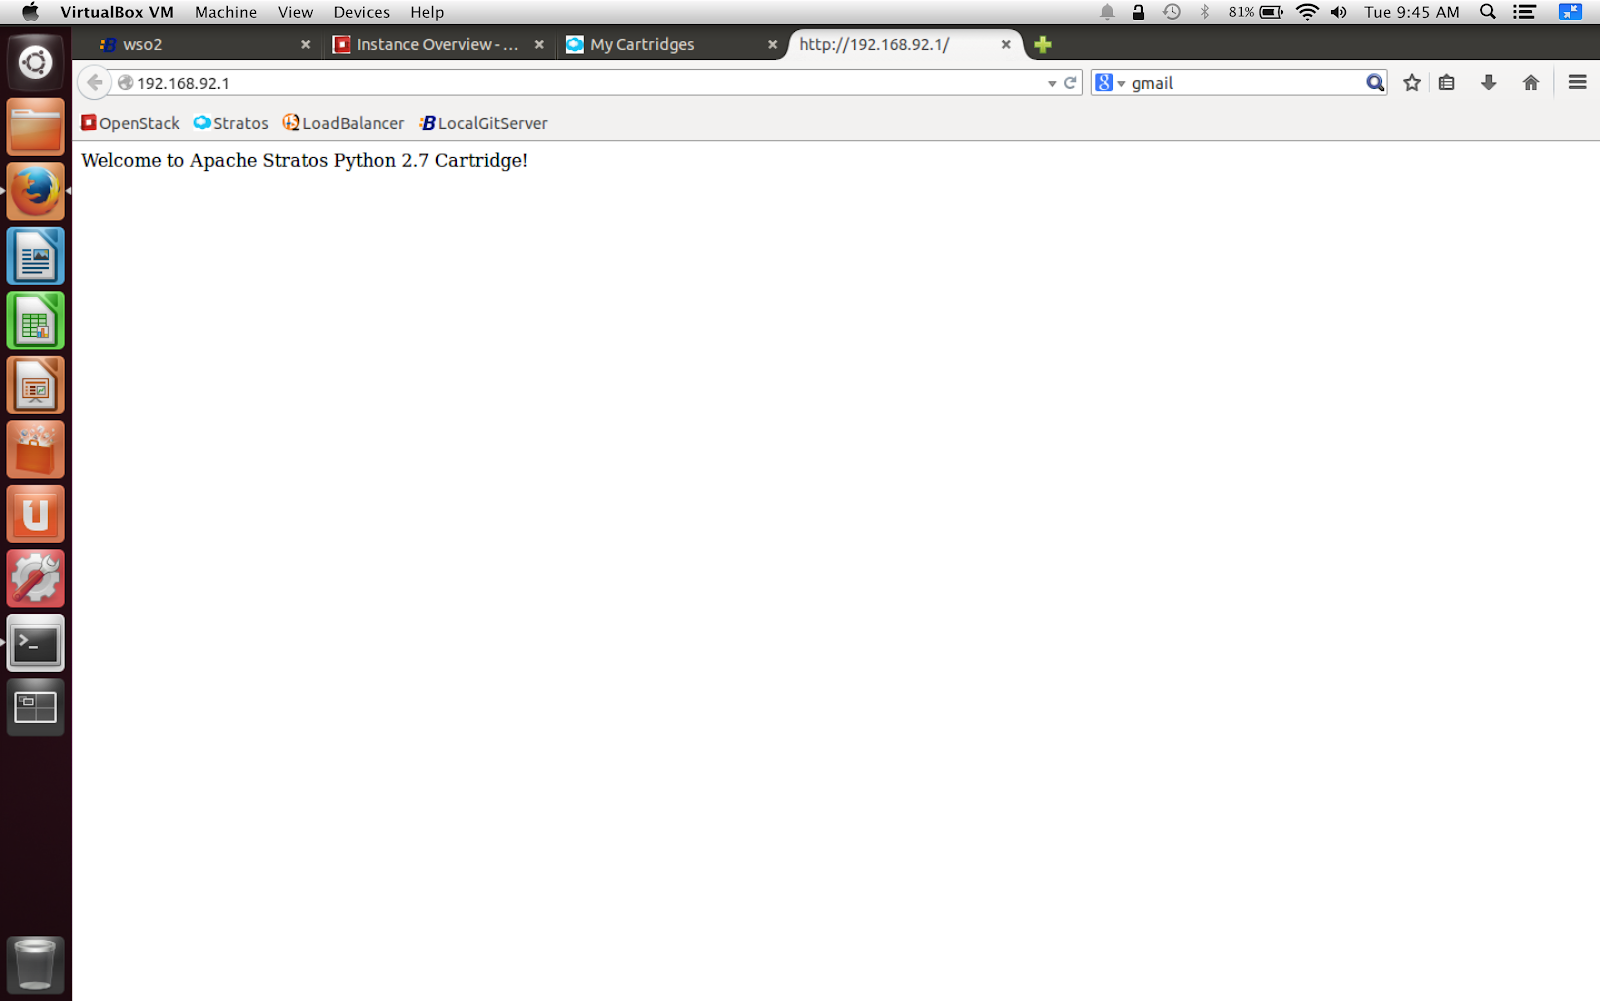
You can find the python application on docker instances public ip address, in this scenario 192.168.92.1
No comments:
Post a Comment